The '/' command inserts plan references, rules and provisions into your reports. A key difference from the '@' command is that the '/' command only works at the start of a new line, rather than mid-sentence.
Plan assessment tables are live and link directly to your plan assessment. If you update or add further provisions to your plan assessment at a later date, your table will automatically update to match.
Inserting a plan assessment table into your report
- Type '/' on a new line and choose the Plan Assessment option. This inserts a table representing your plan assessment.
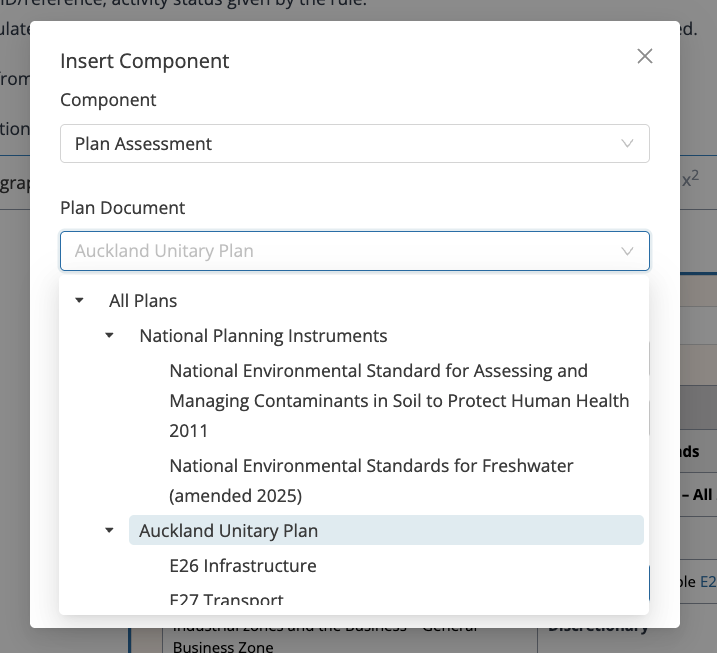
- Select which plan or document you'd like to pull through (you can adjust this later — see step 4).
- Delete any tags you don't want to show. By default, all tags are included. For example, if you'd like to show only Objective and Policy tags, delete any other tag from the table.
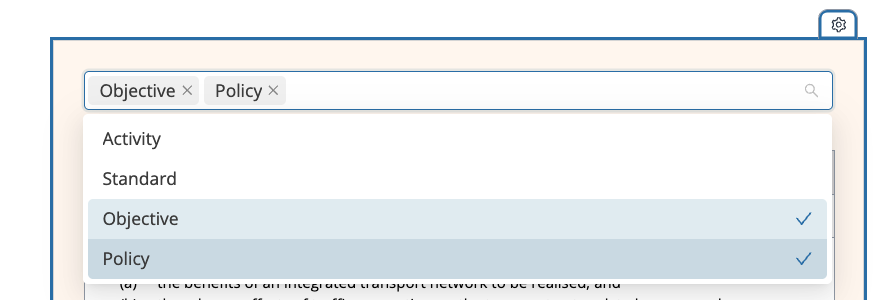
- To change which plan the table pulls from, select the cog icon in the top-right corner of the table (pictured above) and adjust the Plan Document. The table can represent:
- All plans from your plan assessment
- An individual plan (e.g. the AUP or National Planning Instruments), or
- An individual document within a plan (e.g. E26).
Adding and Editing comments in your plan assessment table
Once your table is in your report, you can add new comments or edit existing ones directly in the table — no need to jump back into your plan assessment to make changes.
Editing an existing comment
Click anywhere in the comment box and edit the text.
Adding a new comment
Hover over the provision you'd like to comment against. A speech bubble icon will appear.
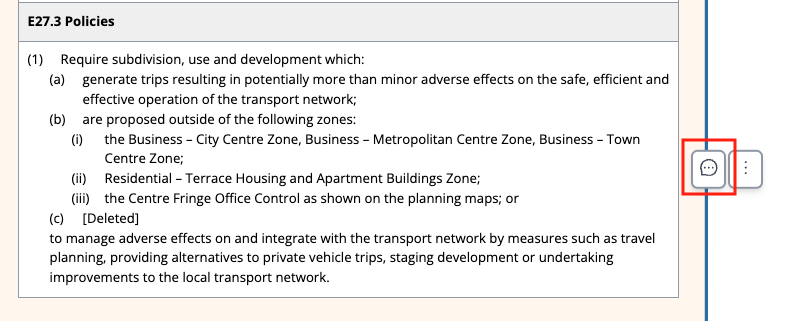
Start typing to make your comment, or import a comment from a previous project.
Using the menu icon in tables
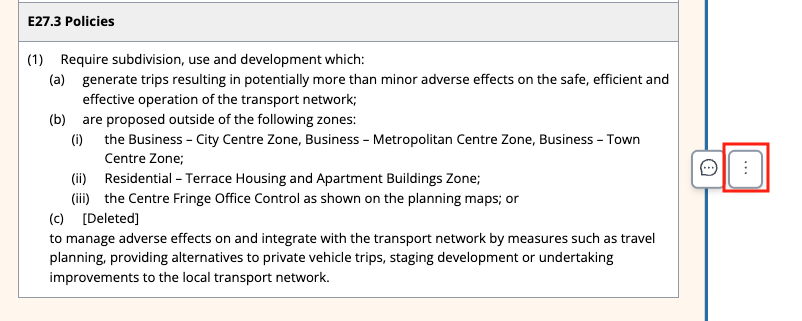
The menu icon gives you further editing options for your table, plus a quick way to navigate back to a specific area of your plan assessment.
Jumping back to your plan assessment
Where you'd like to quickly navigate into your plan assessment at the exact area where the provision in the table is, you can hover over the provision and select the menu icon.
Select 'Jump to Plan Assessment' to locate exactly this provision and make any updates required within the plan assessment.
Making further changes to your table
You have three options:
- Hide Row
- Hide Row + Contents
- Focus Row + Contents
When you hover over each option, anything that will be removed from the table highlights in red, so you can preview the change before selecting it. These options let you remove individual rows or grouped items, or quickly focus the table on a single row or group.
This means all table formatting changes can be made within Rico.
